This post is part of a series. Check out:
- Creating a Rain Garden Part 1 about the planning stage,
- Creating a Rain Garden Part 2 for the purchasing stage and
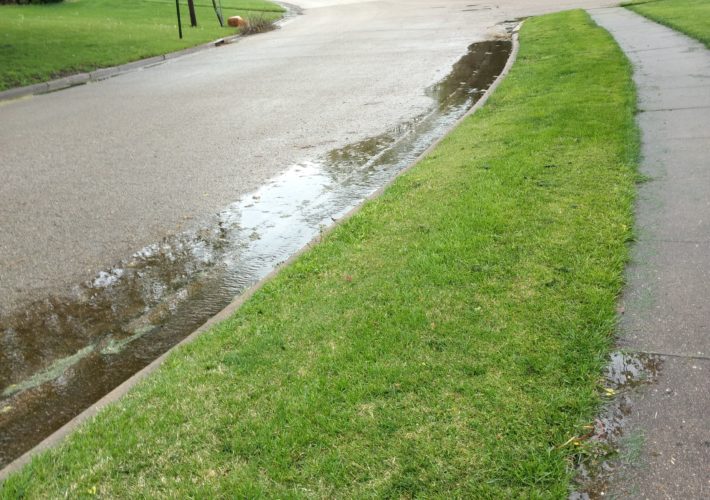
- What’s a Rain Garden for some basic info on what a rain garden is and how it works.
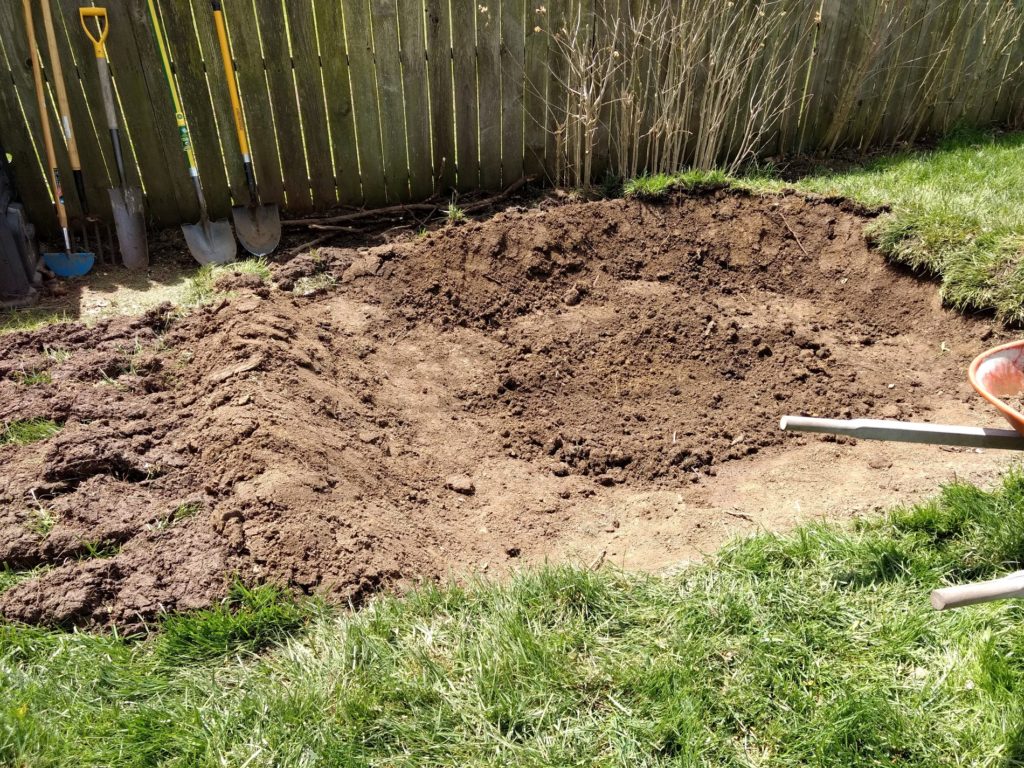
Finally I am in the building stage of creating a rain garden and this is where my handyman helped out. First, he dug out the garden. It’s a weird shape because he planned to flip back the grass on the sides and back and lay it on top of some dirt to raise the sides of the garden bed. Genius!
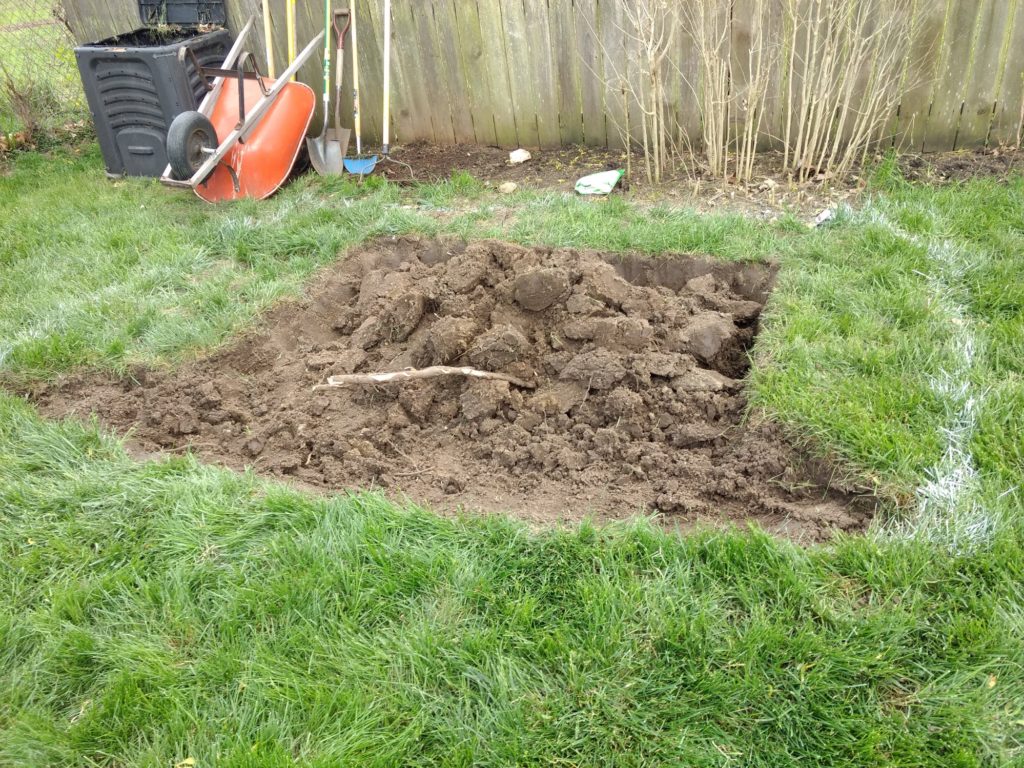
Next, we moved the pieces of sod we had removed to a plot of dirt on the side of the house. I needed to grow some grass here since I dug up some old rose bushes last year. Score!

We hauled off a bunch of dirt and filled in some holes in the lawn. Again, it was something I had needed to do for a long time, but never got around to it.
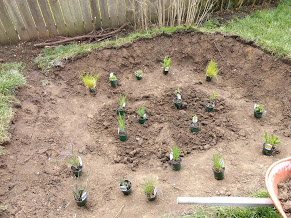
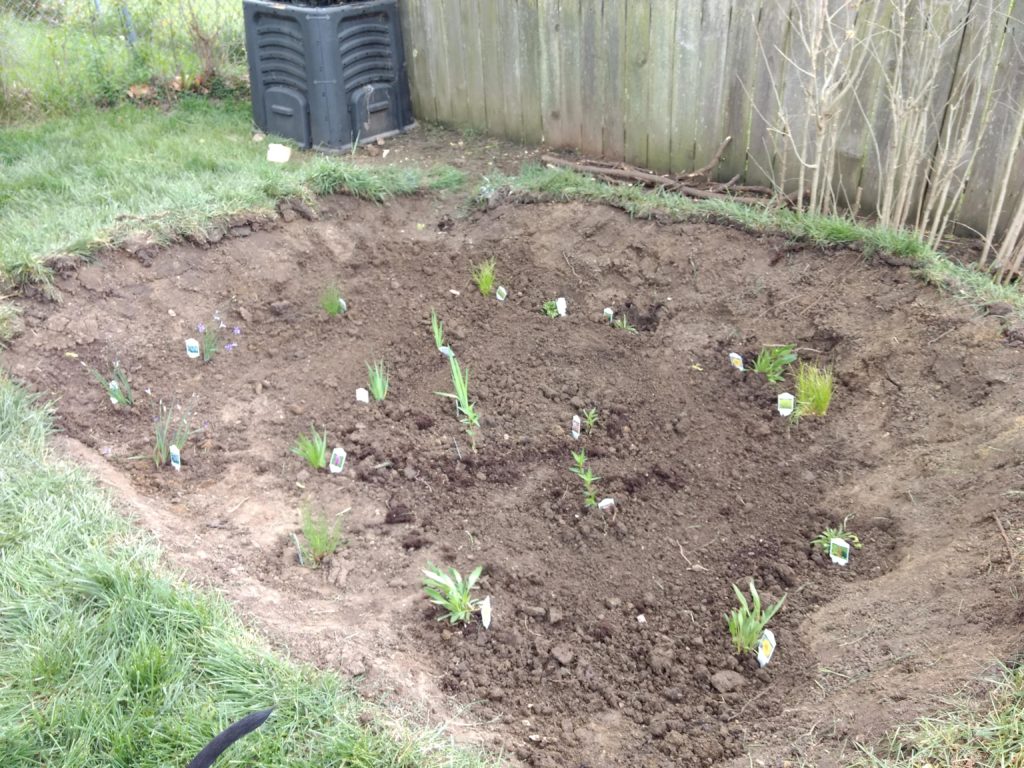
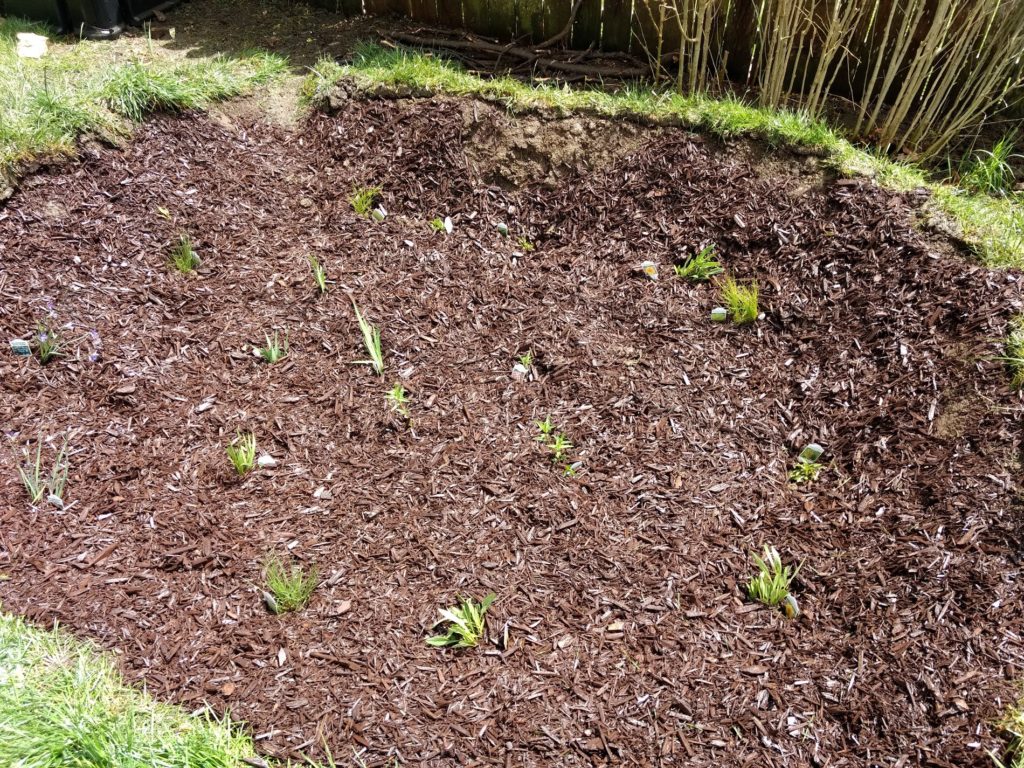
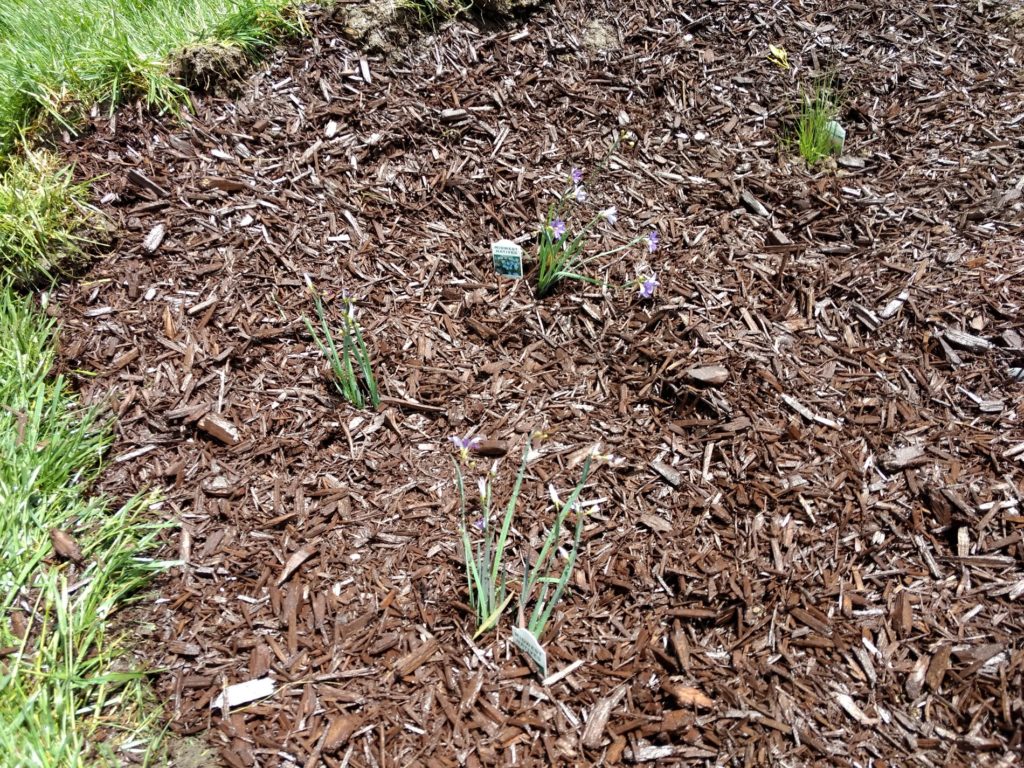
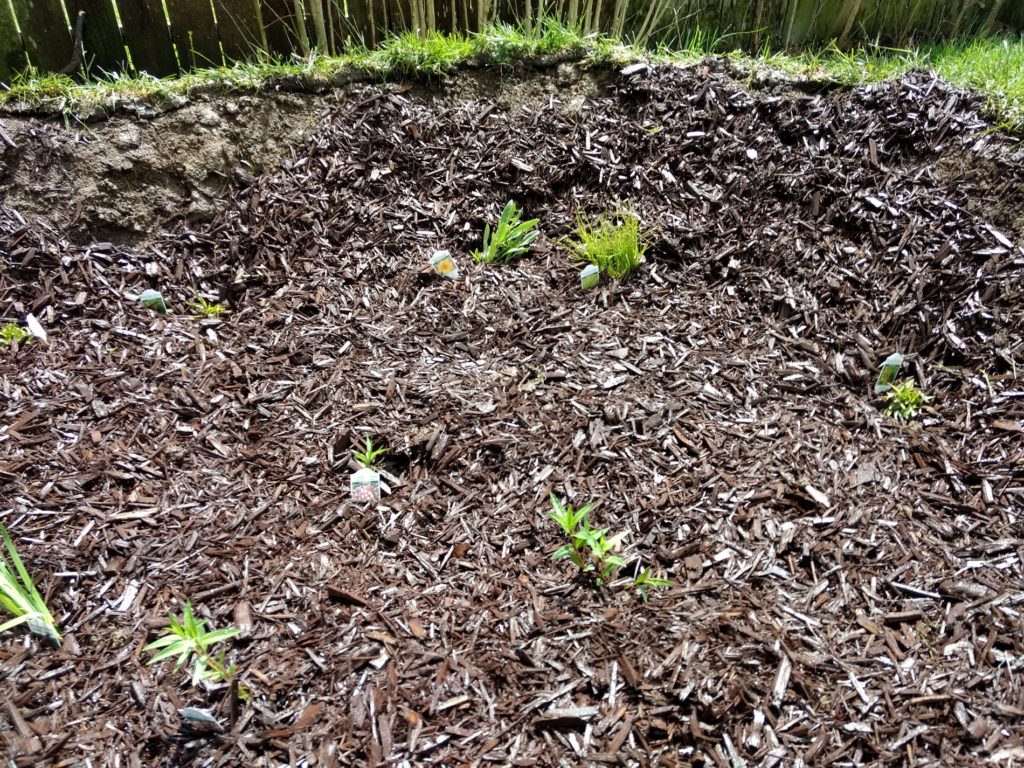
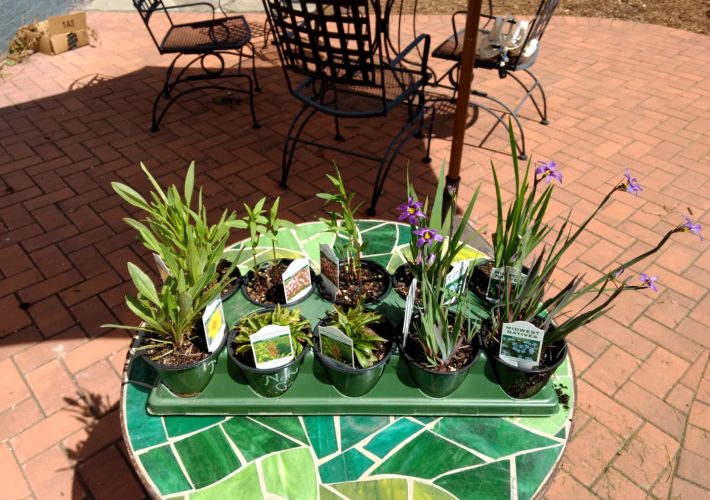
Finally it was time to plant. I placed the flowers and grasses where I wanted them, grabbed some potting soil and planted.
The finishing touch was the mulch. And we used a lot of mulch–6 bags worth.
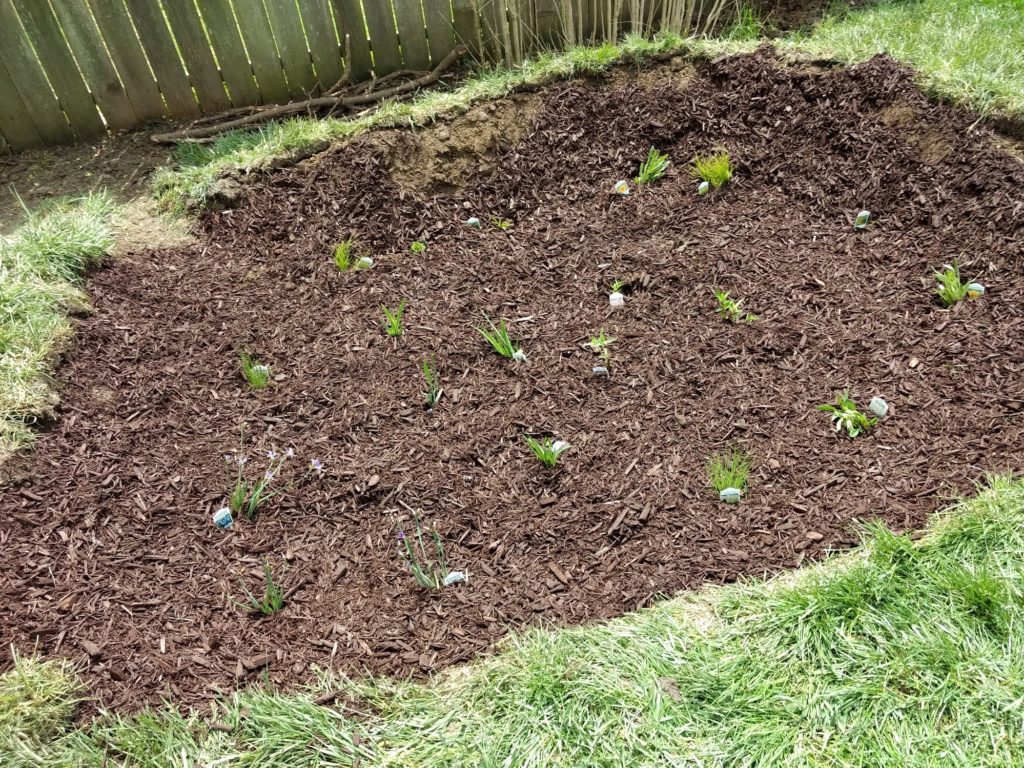
We completed the garden with an overflow area in case we got so much rain, we needed to let it flow out. It’s the split in the grass at the upper left side of the garden. Little did I know this would be the site of a mulch dilemma, which I’ll post about next week.

For now the garden is done! All I need to do is water and watch it grow.
‘Till then, peace out (and in!)
Julie
The next post in the Rain Garden Series is Then the Rain Came, to be published 6-17-20.

Leave a Comment
Pingback: The Cost of a Rain Garden – Peace Out and In on June 10, 2020
Pingback: The Rain Garden’s Growing! – Peace Out and In on June 10, 2020
Pingback: Rain Garden Updates: Year 2 – Peace Out and In on June 10, 2020
3 COMMENTS