I am pretty excited to be making a rain garden. I have been wanting to build one for years, and since I’m working from home now, I am motivated and have time to work on it.
The goal of a rain garden is to clean the water as it moves under ground. The premise is something like this: we have paved and built on so much space that our rain water often flows down those spaces, picks up toxins and drains into our rivers. If we create rain gardens, which are basically bowl shaped holes in the ground, we can direct some of the water into that space and it’ll be cleaned.
After big storms or during snow-melt, one side of my yard holds some standing water. I figure if I can build a garden there, I may be able to keep the water away from the fence and it’d be an ideal place for a rain garden.
Here are the steps I’ve taken so far:
First, I marked off some possible places for my garden with yarn. I experimented with a rectangle closer to and farther from the fence just to visualize it.
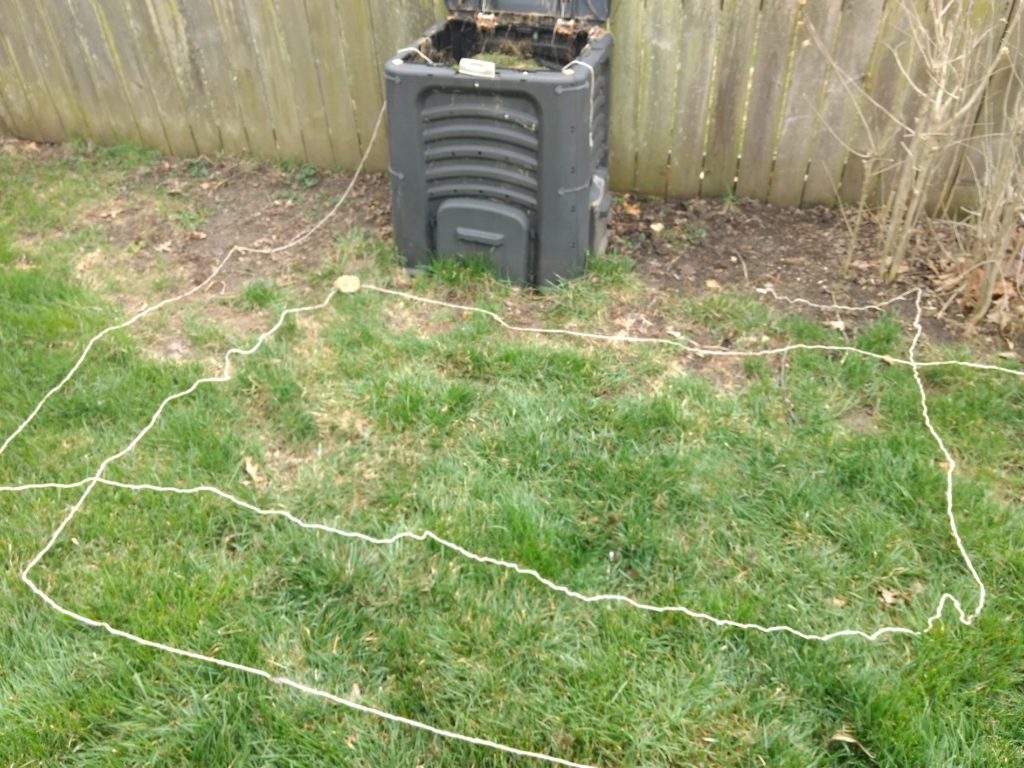
______________________________________________________________________________
Next, I called my handyman to see if he’d help me. He said yes, but first I needed to call JULIE to ask them to mark any underground lines. They had me mark the area I wanted marked with white paint. I decided to mark off a pretty big area to be sure I had plenty of space.
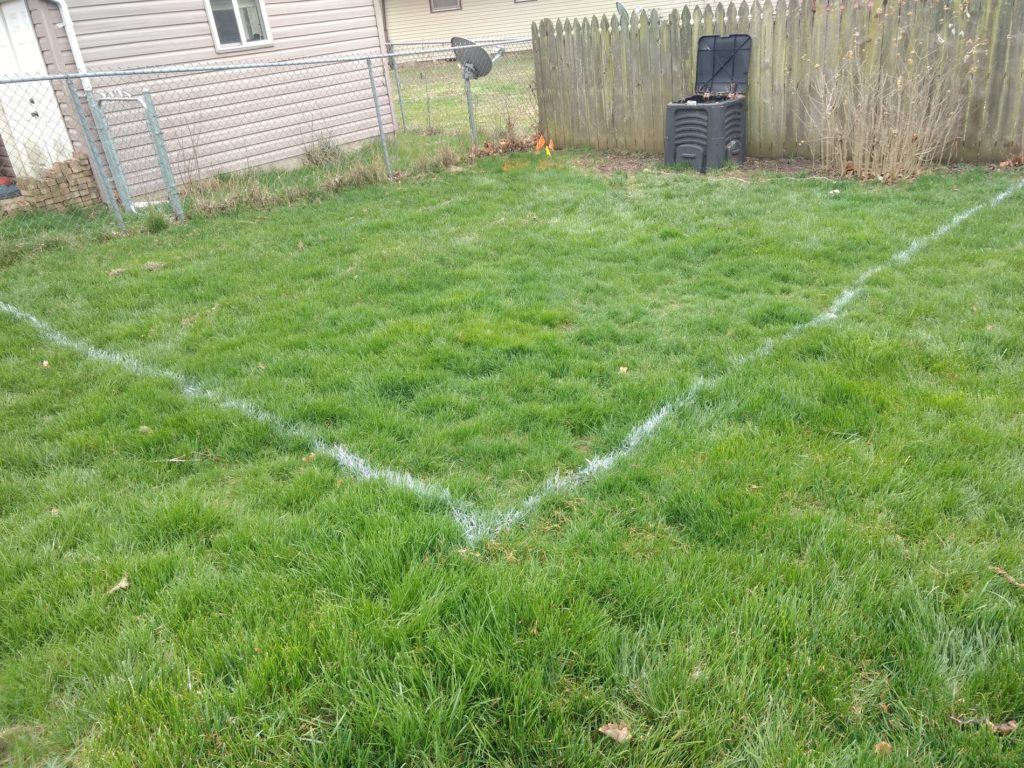
______________________________________________________________________________
The utility lines closest to where I want to put the garden were marked. This spot is a few feet from where I wanted to dig, so I’m fine!
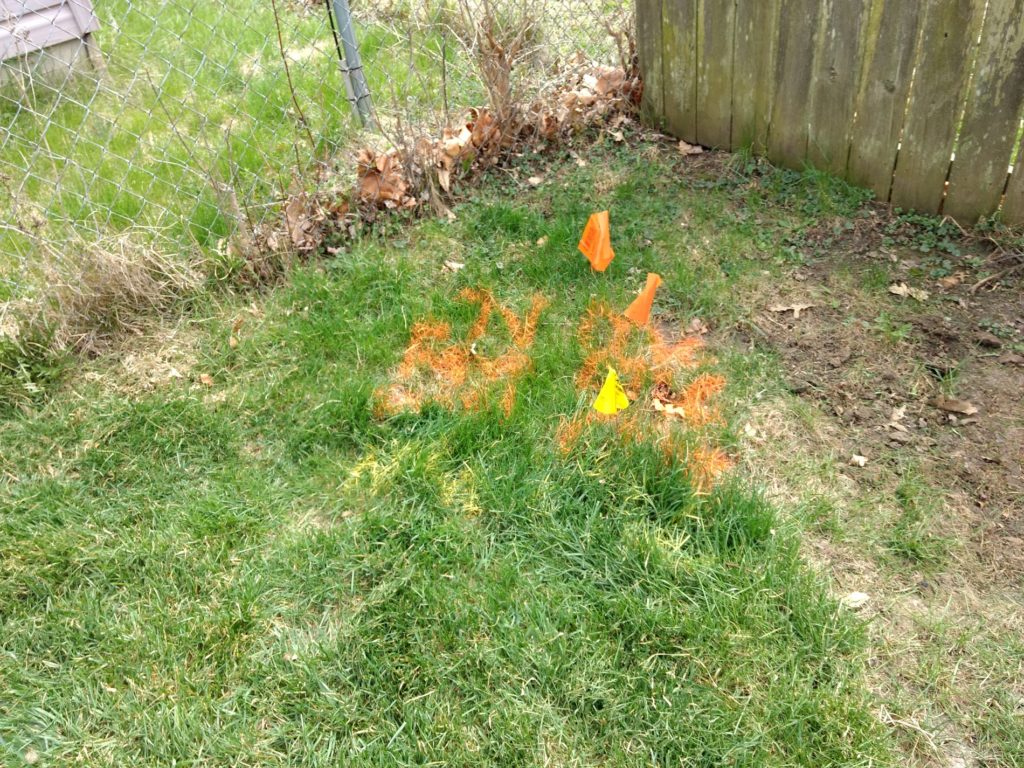
______________________________________________________________________________
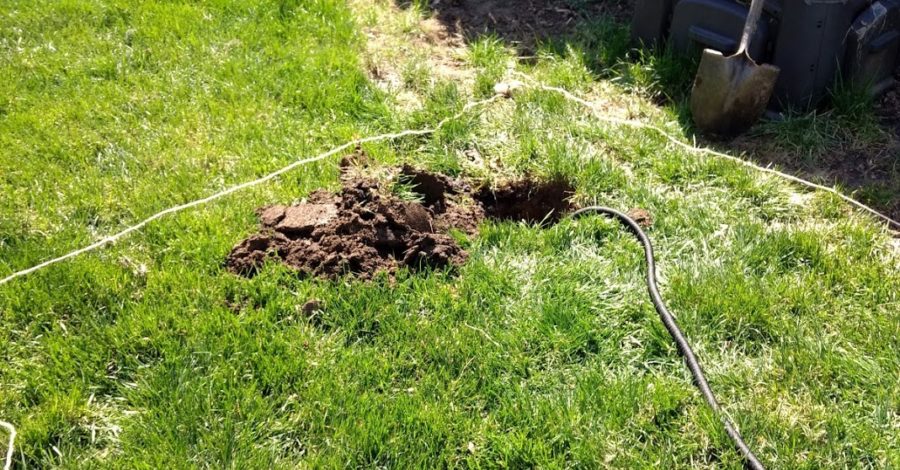
I had done a dig test before, but I was so excited to start on the garden, I did it again. Basically, I dug a hole about a foot deep and a foot wide.

______________________________________________________________________________
I filled it with water . . .

______________________________________________________________________________
and recorded how fast it drained. It drained 4 inches in the first half hour, another 3 in the next half hour. Then 2 inches in the next half hour. The water was totally drained about 3 hours from when I started.
______________________________________________________________________________
I got a little and a bigger surprise: worms! The little guy looked like he was stuck so I put him on some higher dirt. The bigger worm seemed to be trying to climb up, so I ended up putting him on some dirt outside the hole too.
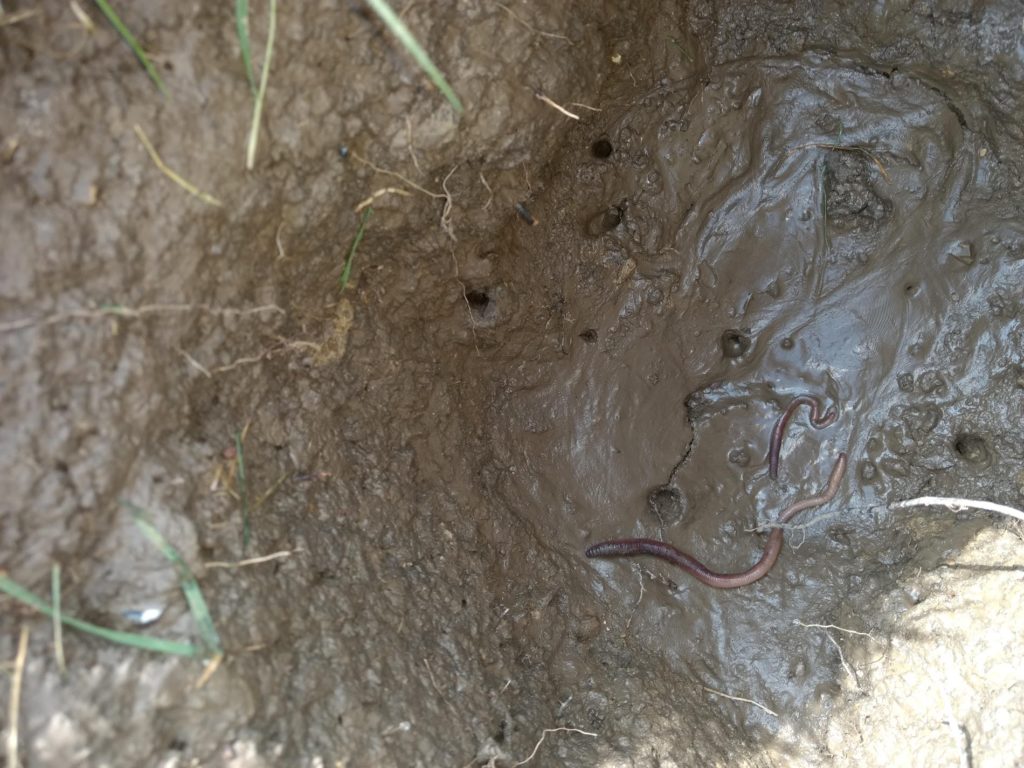
Since the water drained at a nice rate — you’re supposed to make sure it drains within 24 hours — I don’t need to mix the soil with sand or anything to change the drainage rate.
Next, I’ve got to figure out what I want to plant and wait for a warm day to dig out the area.
If you’re interested in learning some more about building a rain garden, I recommend researching locally because there are resources for soil testing and planning. Besides researching locally, though, check out this video from the James City County Stormwater department in Virginia.
Peace Out (and In),
Julie
This post is part of a series. The next entry is Creating a Rain Garden Part 2.
Leave a Comment
Pingback: Creating a Rain Garden Part 2 – Peace Out and In on April 19, 2020
Pingback: What’s a Rain Garden? – Peace Out and In on April 19, 2020
Pingback: Creating a Rain Garden Part 3 – Peace Out and In on April 19, 2020
Pingback: Then Came the Rain – Peace Out and In on April 19, 2020
Pingback: The Cost of a Rain Garden – Peace Out and In on April 19, 2020
Pingback: The Rain Garden’s Growing! – Peace Out and In on April 19, 2020
Pingback: Rain Garden Updates: Year 2 – Peace Out and In on April 19, 2020
7 COMMENTS