
Earlier in the series: Cleaning My Craft Room Parts I and II.
A few weeks ago, I shared my process for going through my books and magazines in my craft room. I shared how I came to the decision to work on this part of the craft room first and the 3 categories I used (Keep, Let Go, and Go Through Again). I thought my explanation was pretty thorough, but I realize now that I didn’t share a step.
Before using my 3 categories, I sorted the books and magazines into piles by craft. I had materials about knitting, quilting and some that contained a variety of crafts. This part was a bit like taking inventory. I figured out what I had and how much of each thing I had before determining what to do with the books and magazines.
I remembered I hadn’t shared this step when I started writing this post because that’s what I did with the bags. Before I decided whether to Keep or Let Go, I put the bags into some different piles to help me understand what I had.
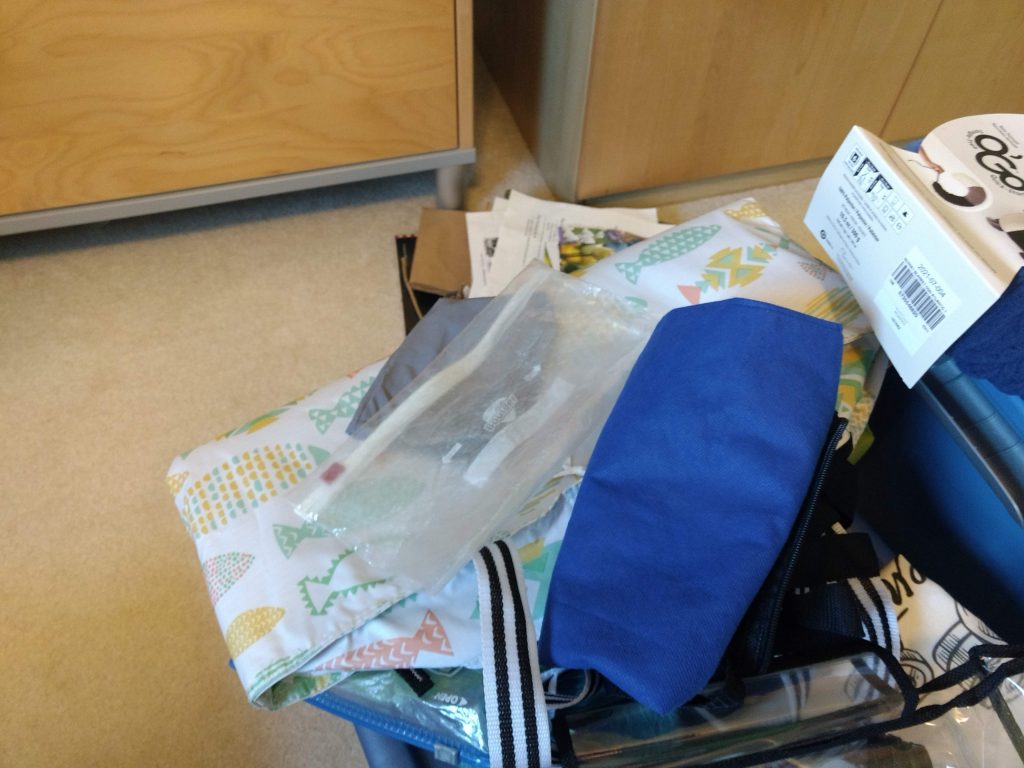
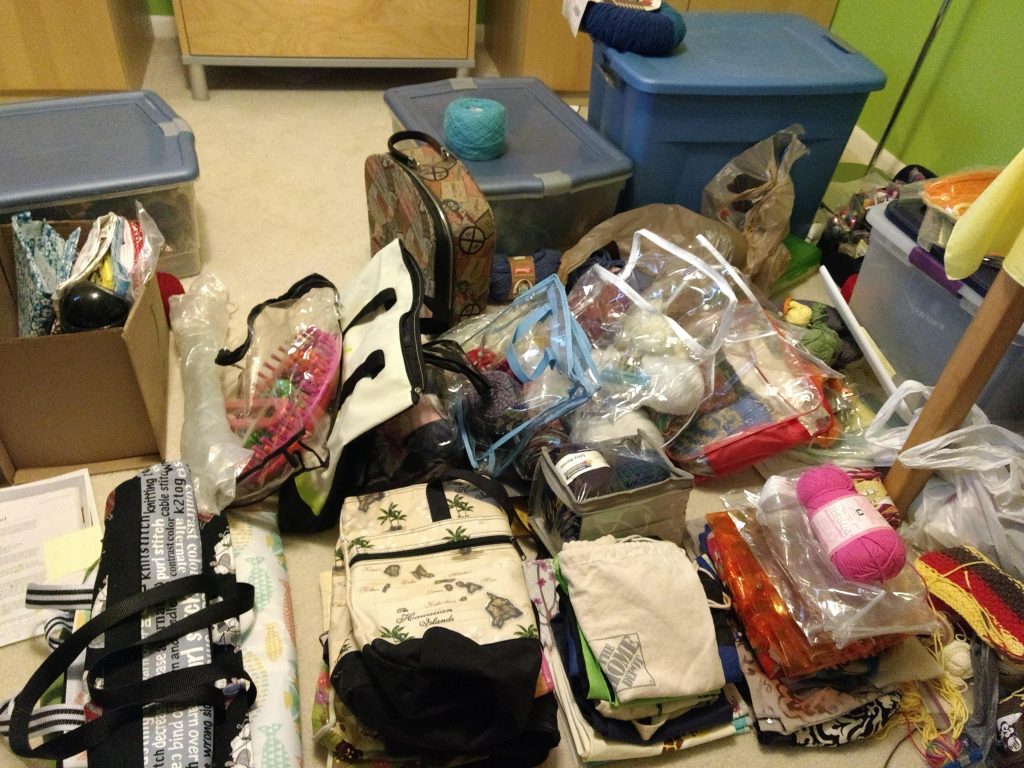
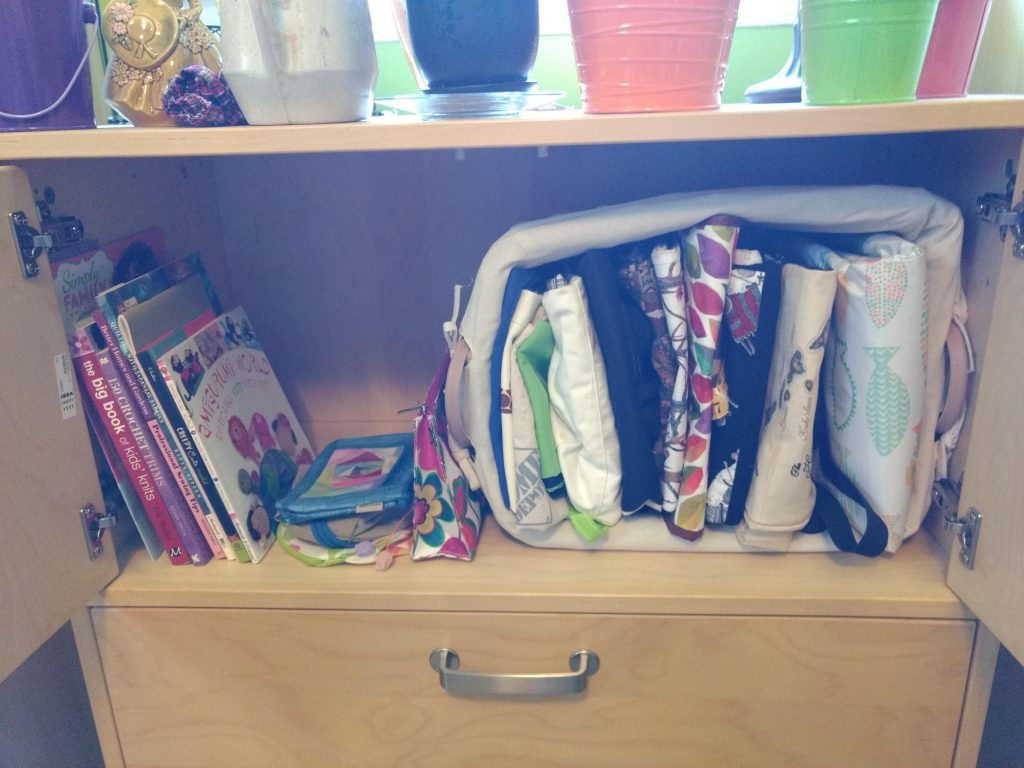
Here are some “before” photos, so please notice the messiness:
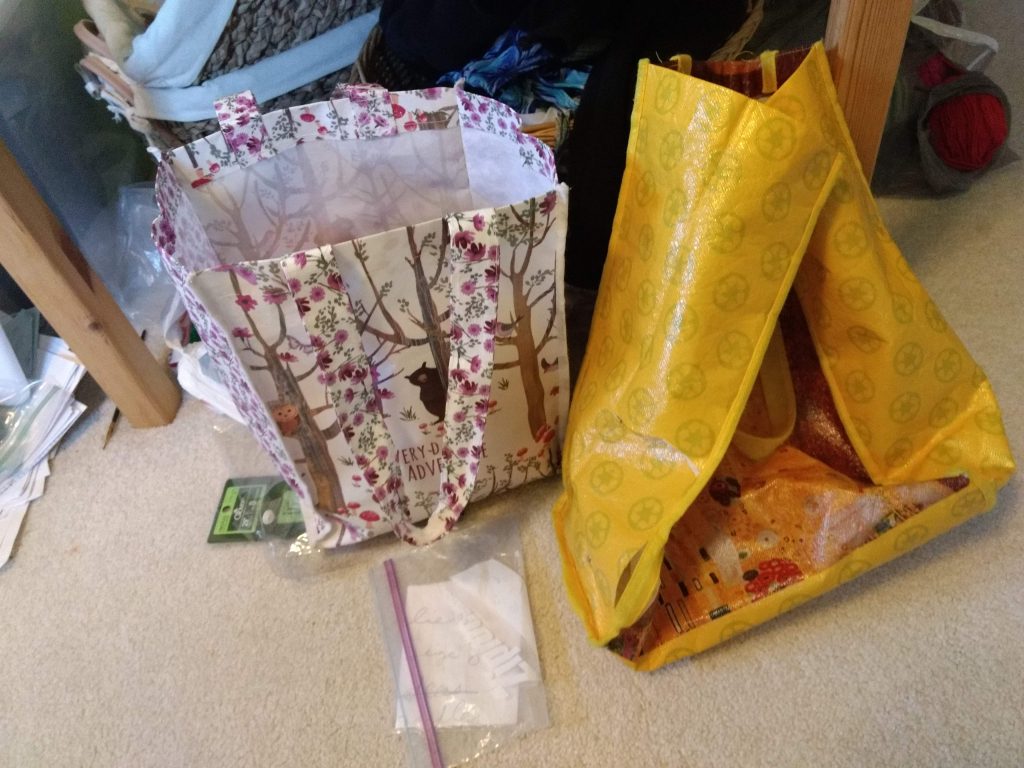
I started by putting the bags into 3 piles: big, medium and small but quickly started to develop piles with 4 sizes. I had a ton of medium-sized bags so I separated them into bigger and smaller medium-sized bags. I could have kept just a few bags of each size, but a lot I had gotten as gifts, others I hadn’t gotten to use yet and still others are my tried and true knitting bags. I decided I’d keep as many of them as I wanted. Separating them by size, then, was just part of me taking inventory.
I started to go through the piles of bags and figured out there were some I would use more often if they were grocery bags, so that became a pile. Another pile was of bags that were too small or were nice enough to pass along to someone else but that I didn’t see myself using. Finally, there were a few bags that were so ripped up, I tossed them.
Next, I started to think about how I wanted to store the bags. I started to fold them a few different ways. I remembered a principle I had heard Marla Dee or another organizer use when organizing paperwork. If the paperwork was something to do, I was to put it in an upright or vertical position. Paperwork only got put down horizontally when I was done with it. I think of it as the paperwork that is vertical is “awake” and the paperwork that is lying down is “asleep.” I don’t know why it works, but I am more likely to get back to the paperwork that is “awake” and complete it.
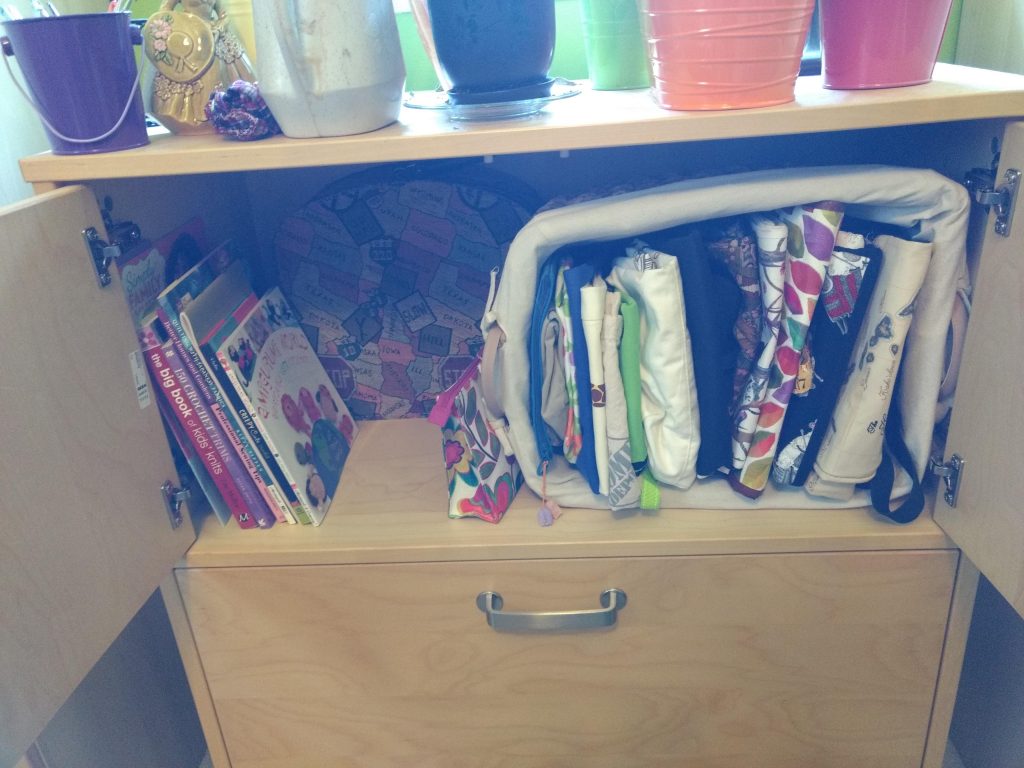
I decided to stand my bags up so they would feel more active to me and maybe I’d use a variety more often. I also wanted to be able to see all the bags at the same time. So, I started folding my bags and seeing how I could store them vertically. When I put them on the shelf, they’d just slide down, so I grabbed a basket and put them in there.
They take up more room this way, but I think they look nice and I can see them all at the time I want to use them.
Now, the bags above are the ones I put multiple projects in to go to knitting groups, meetings, or to my parents’ house. I also keep some clear bags to put individual projects in. I’ve recently adopted this practice after I saw a friend do it.
The clear bags are from when I purchased pillow cases, sheets, or other products that come in a cute pouch.
When I start a project, I put the yarn, needles and pattern in the bag. Then when I go out I grab 2 project bags (you need a second project if you get bored of the first or if you get stuck on something with the first project) and go.
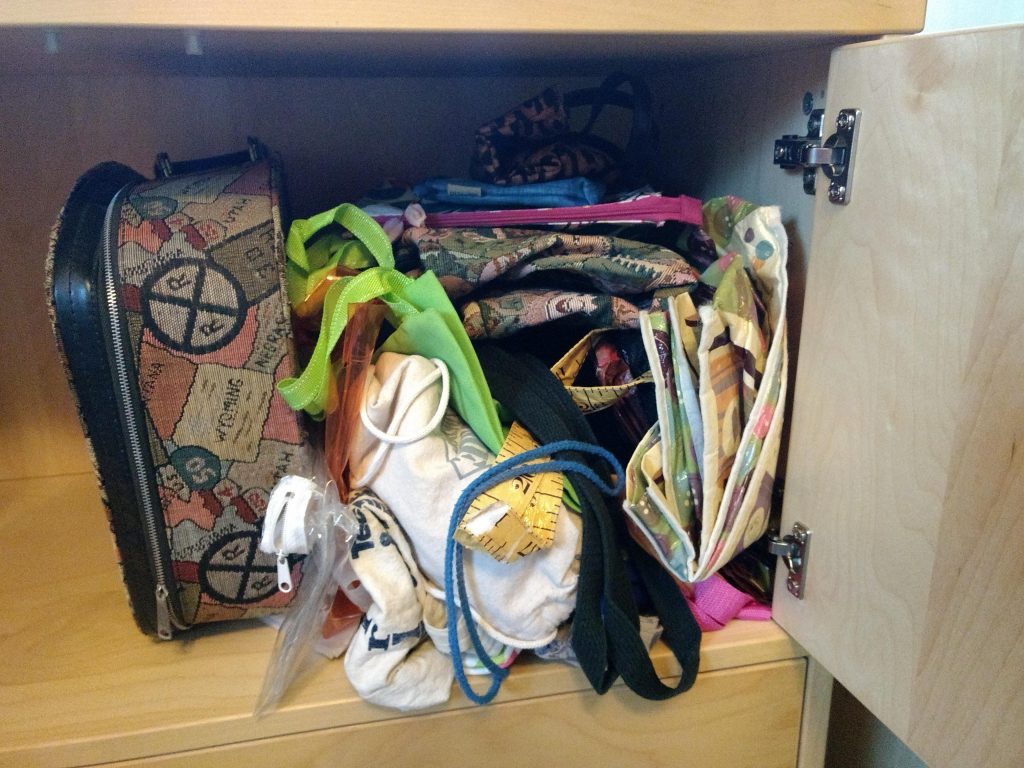
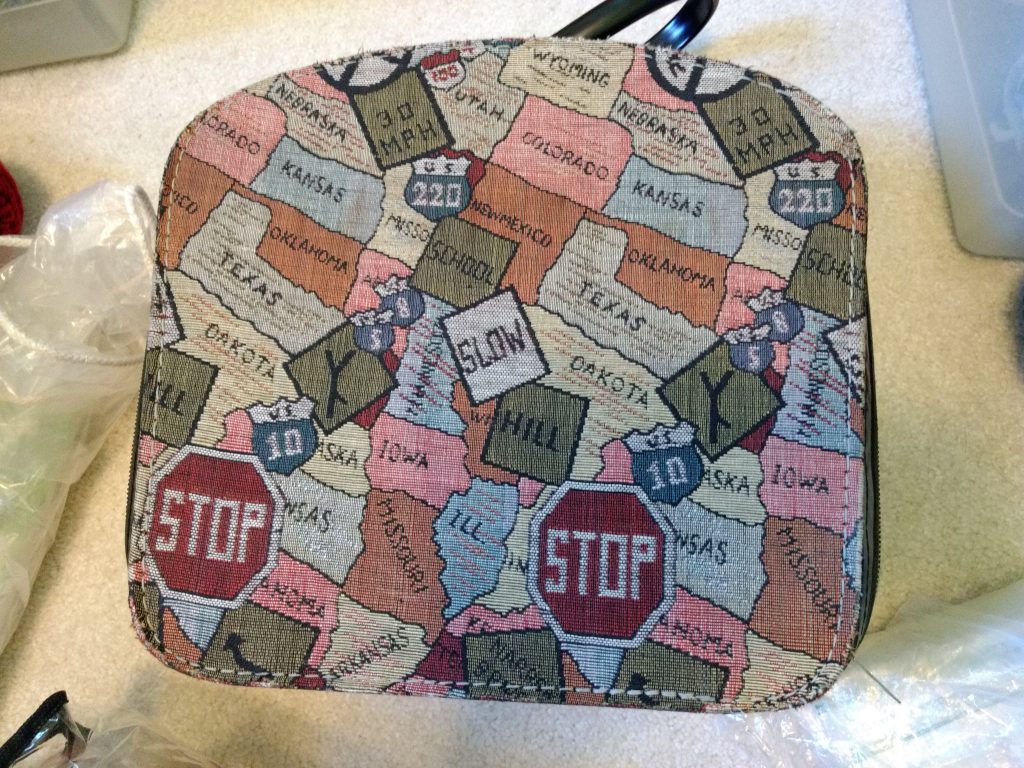
I decided to put all the clear project bags in my mom’s vintage suitcase. I used to use this as a knitting bag when going to knitting groups, but I started to worry it was going to get frayed. It is just too cute not to keep, though, so now it’s got a new purpose.
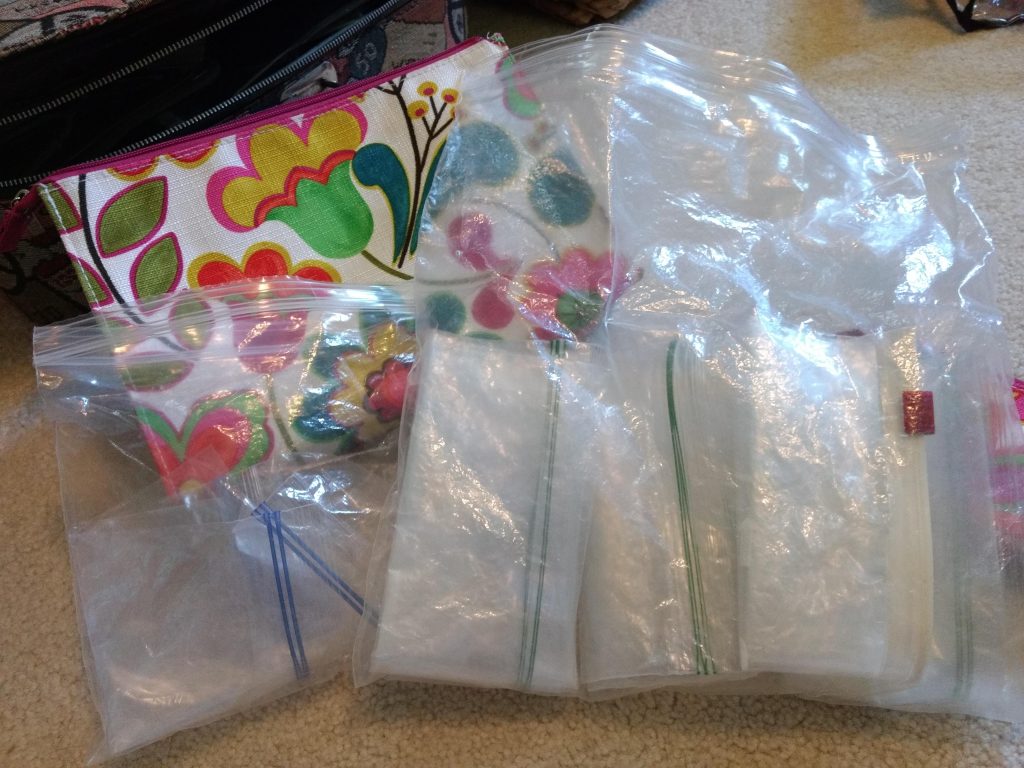
Finally, the last type of bag I keep is clear ziplock-type bags. I throw balls of yarn or finished projects or stitch markers in these. I folded the sandwhich and gallon bags and put them into a super-cute makeup pouch I bought at a second hand store.
I think the moral of this post is that bags can be practical and beautiful, just like the storage. Here’s the finished organization:
Next week will be about the top of the cabinet: knitting needles and plants!
Peace Out (and In),
Julie
Leave a Comment
Pingback: Cleaning My Craft Room // Part IV – Peace Out and In on June 29, 2022
3 COMMENTS
JMFL
2 years agoI liked how the bag categories occurred organically. Also, thinking about how to store them so you’ll be more likely to use them is a great suggestion, too.
Julie
2 years ago AUTHORTHanks! Yes, storing things so I’ll be more likely to use them is definitely a challenge. I’m more likely just to leave things out and not put them away at all. I guess I am striving for a balance of beauty/order and accessibility.